Being a Coeliac, my home brewing history has so far been limited to a beer that doesn’t use any grains (see recipe for “Four Star” gluten-free strong ale). Not really a beer at all in the theoretical sense, but a good substitute nonetheless. For this homebrew, I wanted to see if I could create a beer using gluten-free grains. A lot of the gluten-free brewing recipes I find on the internet use malt extracts and syrups, none of which I have been able to locate in the UK. So my only hope was to malt my own grains from scratch.
There’s a variety of grains you can use and all contribute to the taste of the final drink. Being a newbie to all of this I of course followed a recipe and used buckwheat, millet and quinoa, all of which I could purchase in their un-milled, ready for sprouting form. Most of my advice for this experiment was from information given by Andrew Lavery, a former home-brewer and now owner of O’Brien Brewing, a gluten-free micro-brewery in Australia.
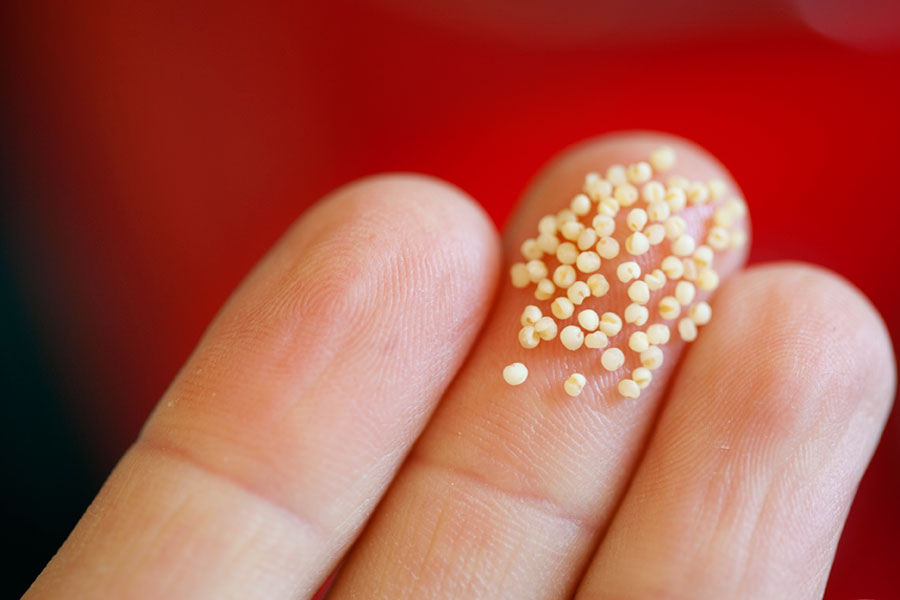
Millet for the home-brew gluten-free beer
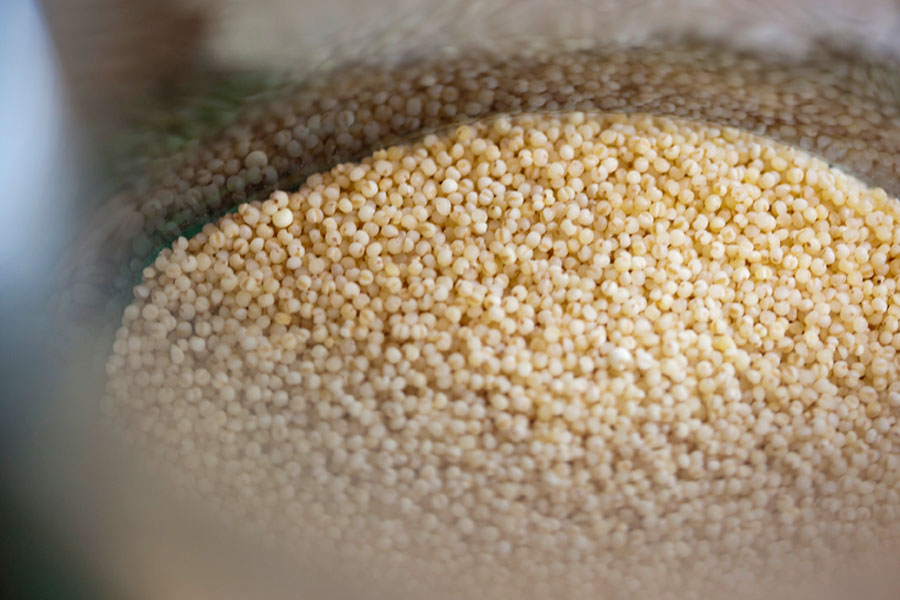
Millet
As I don’t have a lot of room, nor the equipment to work with large quantities of grains, the entire grain malting process took me almost a year. I underestimated the quantity of grain I would need for a brew. In hindsight, I should have malted a lot more grain but as it was my first try I didn’t want to over-commit.
The malting process involves a number of steps, the first of which is to sprout the grain. I use old glass jars, fill each with grain to a depth of about a centimeter and cover with water. Cover the jars with cloth and an elastic band and leave to sit for about 24 hours. After 24 hours, tip out the liquid and rinse with fresh water. I found, especially with the buckwheat, a second or third rinse of the grains was necessary. Then leave the drained grains, to sit again till the next day. Each day repeat the rinsing and draining process.
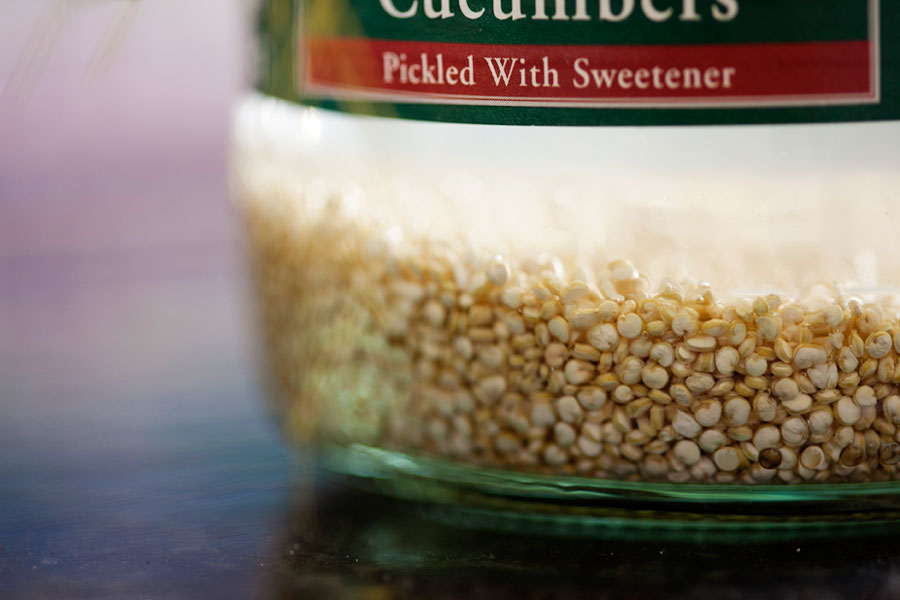
Soaking quinoa
The grains will begin to germinate but don’t stop the process until the length of the shoot is almost twice the length of the grain. The quinoa and buckwheat were easy to sprout but the millet that I purchased showed no signs of germination. I still used them regardless but not in the same quantities as the other grains.
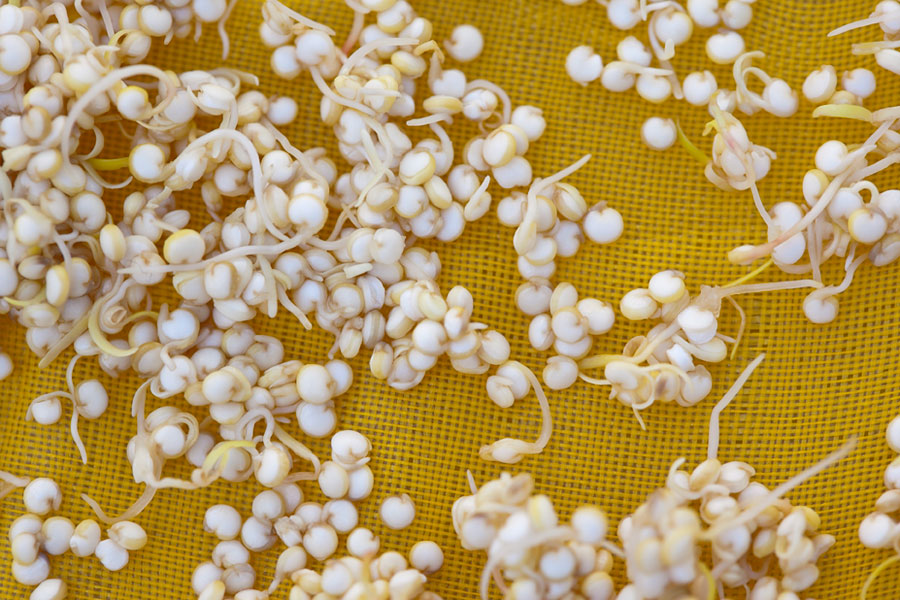
Sprouting quinoa for the homebrew gluten-free beer
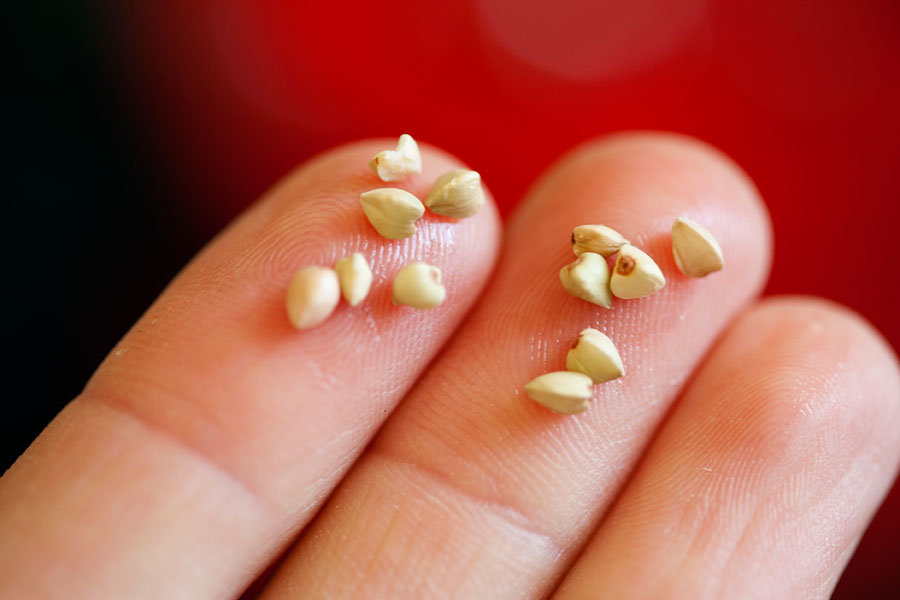
Buckwheat
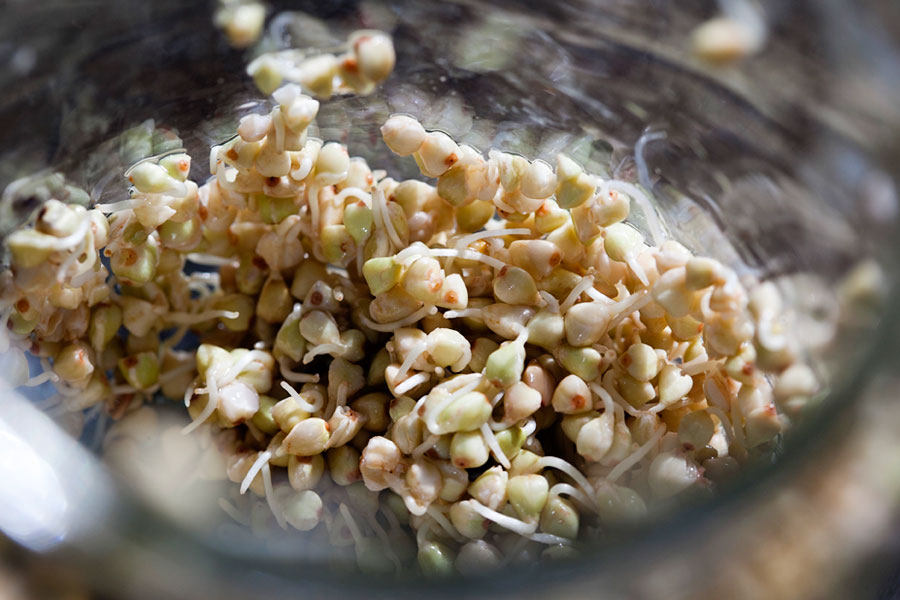
The next step is to dry the grains. Rinse and drain the grains well the final time, then lay them out flat somewhere to air or sun dry. My method was to stretch cloth horizontally over a clothes horse and lay out the grains in a single layer in a sunny spot. Every few hours I’d give the grains a stir to keep them drying evenly. Once dry I sealed them in a ziplock bag and threw them in the freezer.
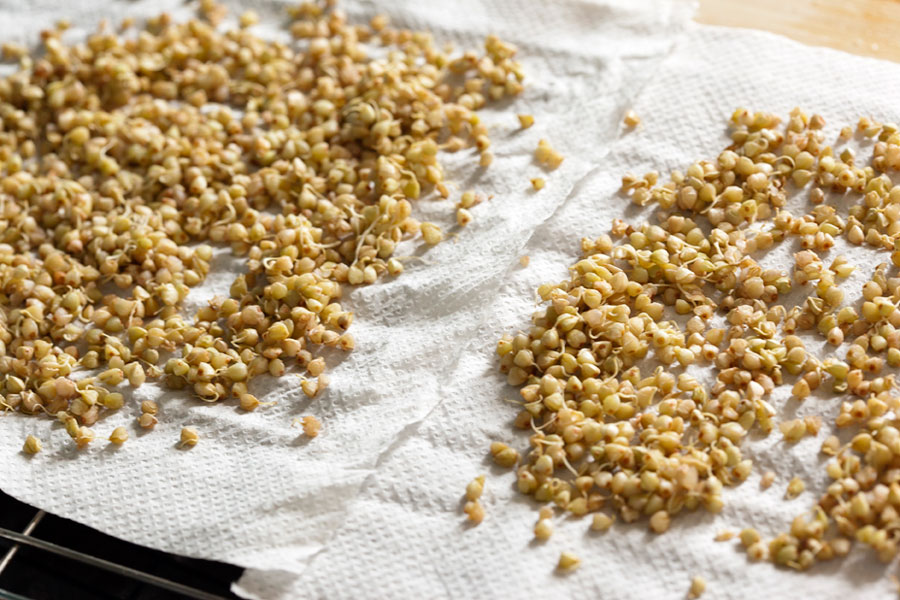
Sprouted buckwheat out to dry
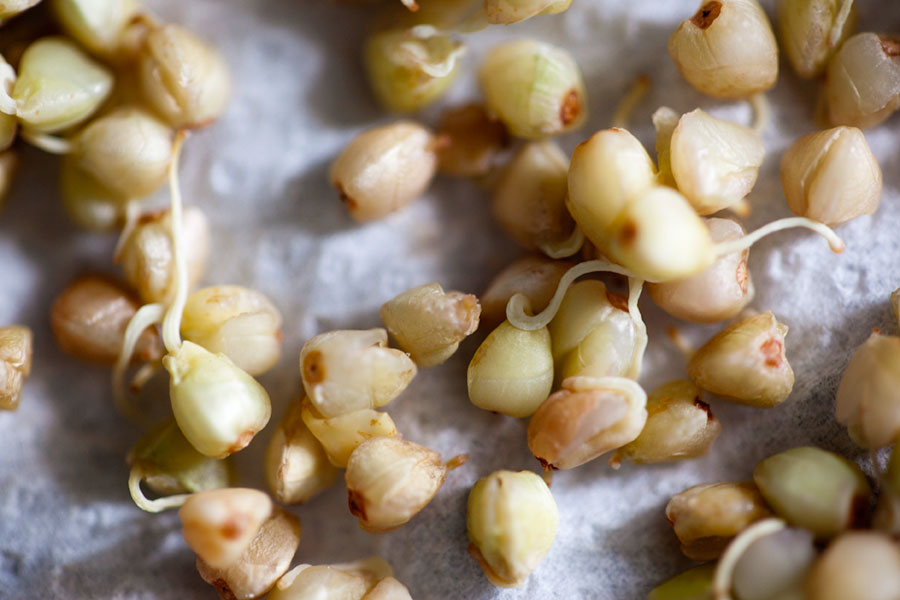
Sprouted buckwheat
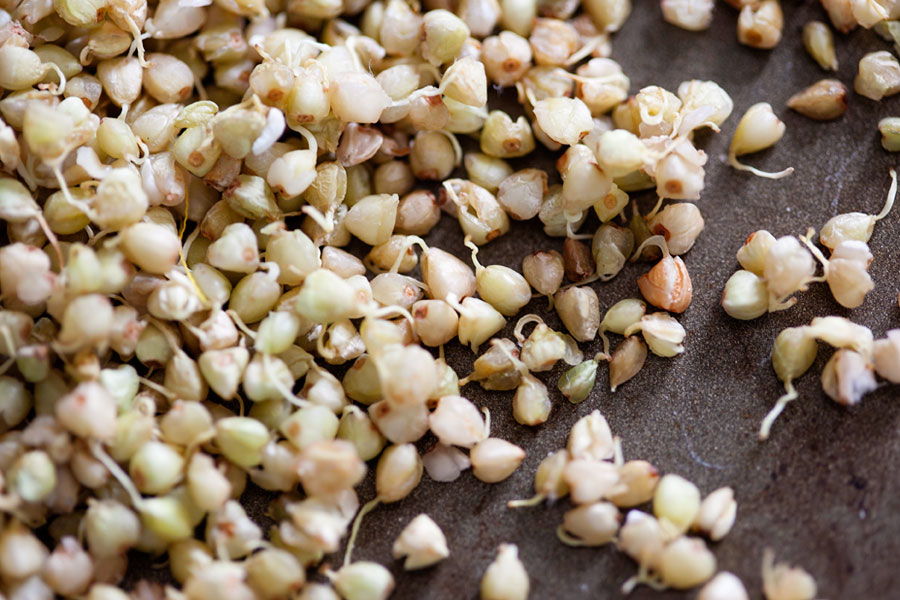
Sprouted buckwheat
Once I had enough grain in the freezer I began the malting process. I spread the grains out thinly on baking trays and roasted them in the oven at temperatures between 100° and 150°C depending on the grain. I kept a close eye on the colour and smell of the grains and turned them several times to roast them evenly. They will become a deep, dark brown colour and smell almost like coffee.
Once cooled, I took the malted grains and shook them in a sieve – the idea is to remove the roots and shoots from the grain as they can impart a bitter taste to the final brew. The sieve should be fine enough to not lose any of the grain but rough enough to remove the roots and shoots.
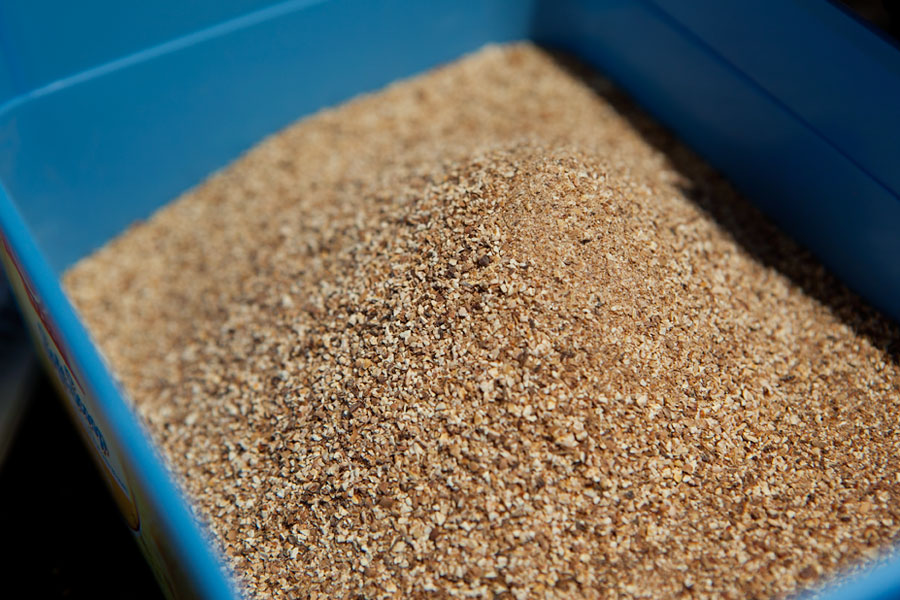
In the end it took me almost a year to produce about 2 kilograms of malted gluten-free grains. I ground this using a coffee grinder, to roughly the same consistency as ground coffee.
The next step is the brewing process which I’ve detailed in another post, see Brewing with Malted Grains.
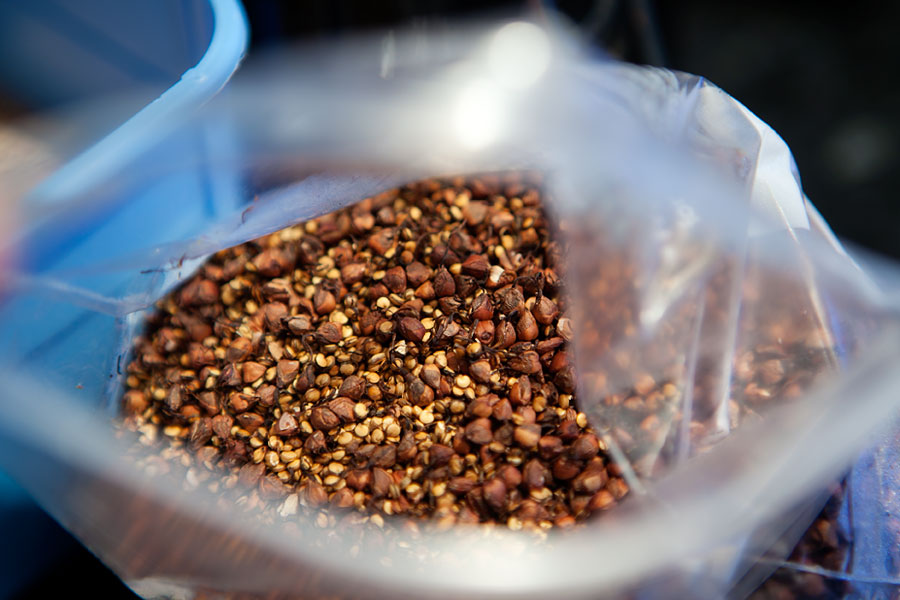
Malted grains before being ground
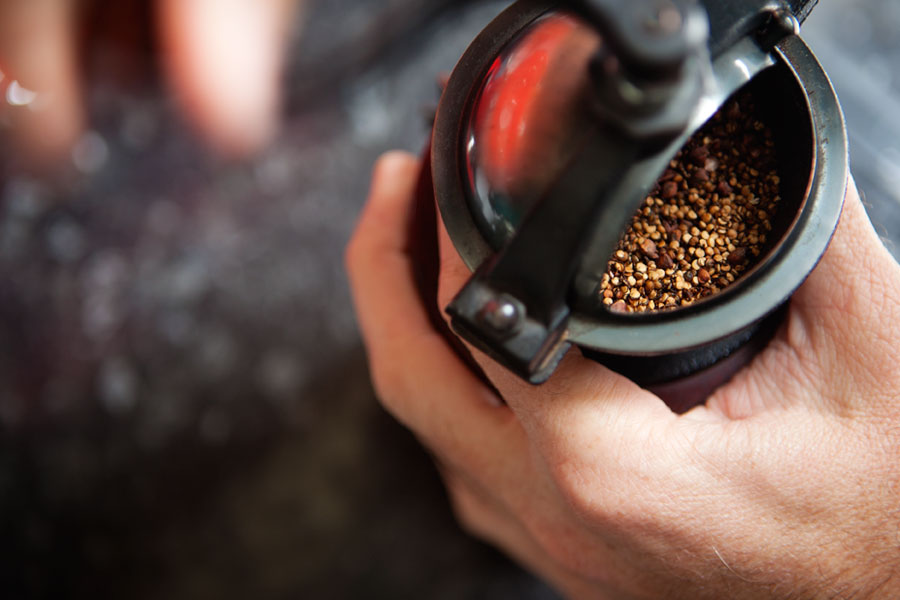
Grinding the malted grains


Hey man, not sure if you are still trying to make malt but I saw your page and figured I’d give you a heads up just in case. The reason that the millet is not sprouting is because almost all of the millet on the market has been hulled. You need to get unhulled millet and then it should sprout like the rest of the grains.
Hey Vincent
Thanks for the heads up about the millet. Unhulled millet is pretty hard to find unfortunately so might have to remove that from the grain bill and stick with the ones that sprouted OK.
Cheers
Leon